BackupHub: A Year of Massive Evolution. Orchestrations, Real‑Time Automation, and a Whole New Platform

When I first released BackupHub back in April 2025, it was a simple idea brought to life: a clean, open‑source way to manage backup scripts across Linux servers, NAS devices, and home‑lab environments. It shipped with a scheduler, a script editor, and a lightweight agent system, enough to solve my own problems and hopefully help a few others along the way.

Fast‑forward to today, and BackupHub has grown into something far bigger than a “backup tool.” It’s now a distributed automation platform capable of orchestrating complex workflows, coordinating multiple servers, and providing real‑time visibility across your entire environment.

This post highlights everything that’s changed since that first release.


🚀 What’s New in BackupHub

1. Full Orchestration Engine

BackupHub now supports Orchestrations; multi‑step, multi‑agent workflows built using a visual node editor. You can chain tasks, run branches in parallel, add conditional logic, and build full automation pipelines. Think of it as “Ansible‑lite meets Node‑RED,” but built specifically for shell‑based automation.

Key features:

  • Visual orchestration builder UI
  • Parallel and sequential task execution
  • Conditional nodes
  • Real‑time execution monitoring
  • Automatic log streaming from every step

This is the single biggest evolution of the platform.


2. A Re‑Engineered Scheduler with Rule‑Based Triggers

The original scheduler handled cron‑style jobs. The new scheduler handles time‑based, rule‑based, and webhook‑triggered jobs.

You can now trigger jobs when:

  • CPU crosses a threshold
  • Disk space drops below a limit
  • A webhook is received
  • A specific agent comes online

This makes BackupHub useful far beyond backups, it becomes a general automation engine.


3. Deeply Improved Agent System

The agent has been completely redesigned with:

  • A clearer lifecycle
  • Stronger encryption and shared‑secret authentication
  • Real‑time log streaming
  • Automatic status reporting
  • Support for both WebSocket and MQTT transports

Agents now feel like first‑class citizens in the platform, not just remote script runners.


4. Real‑Time UI Powered by Socket.io

The web interface now updates instantly:

  • Job logs stream live
  • Agent status changes appear immediately
  • Orchestration steps animate as they run
  • Running jobs are tracked in real time

This makes BackupHub feel alive, you can literally watch your automation flow across your servers.


5. A Proper Data Layer (LevelDB‑backed)

BackupHub now uses a structured LevelDB data layer with dedicated databases for:

  • Core data (schedules, agents, jobs)
  • User accounts
  • Agent history and metrics

This gives the platform:

  • Faster startup
  • Better reliability
  • Cleaner separation of concerns
  • A foundation for future analytics

6. A Much More Capable Web UI

The UI has grown massively, with entire new sections:

✔ Agent Management Dashboard

View status, metrics, logs, and registration details.

✔ Orchestration Builder & Monitor

Build workflows visually and watch them run.

✔ Job History & Running Jobs Tracker

See everything that’s running or has run recently.

✔ Script Editor & Template Repository

Includes templates for:

  • Proxmox VM backups
  • MySQL/MariaDB dumps
  • Rsync jobs
  • File purging
  • Threshold checks
  • Server reboots …and more.

✔ User Management & Authentication

Multi‑user support with persistent profiles.

✔ Settings & Configuration UI

All environment settings now configurable from the browser.


7. Webhooks Everywhere

BackupHub now exposes:

  • Webhook triggers
  • Webhook management UI
  • REST endpoints for orchestration and job control

This means BackupHub can integrate with:

  • Home Assistant
  • GitHub Actions
  • Proxmox hooks
  • Monitoring systems
  • Anything that can send an HTTP request

8. Cleaner Deployment & CI/CD

The project now includes:

  • A hardened Docker deployment path
  • A release pipeline
  • Automated versioning
  • Better test coverage (server + agent)

Deploying the Hub is now as simple as:
docker run -p 8082:8082 ghcr.io/dpembo/backuphub/hub
And agents can be provisioned with a one‑liner from the UI.


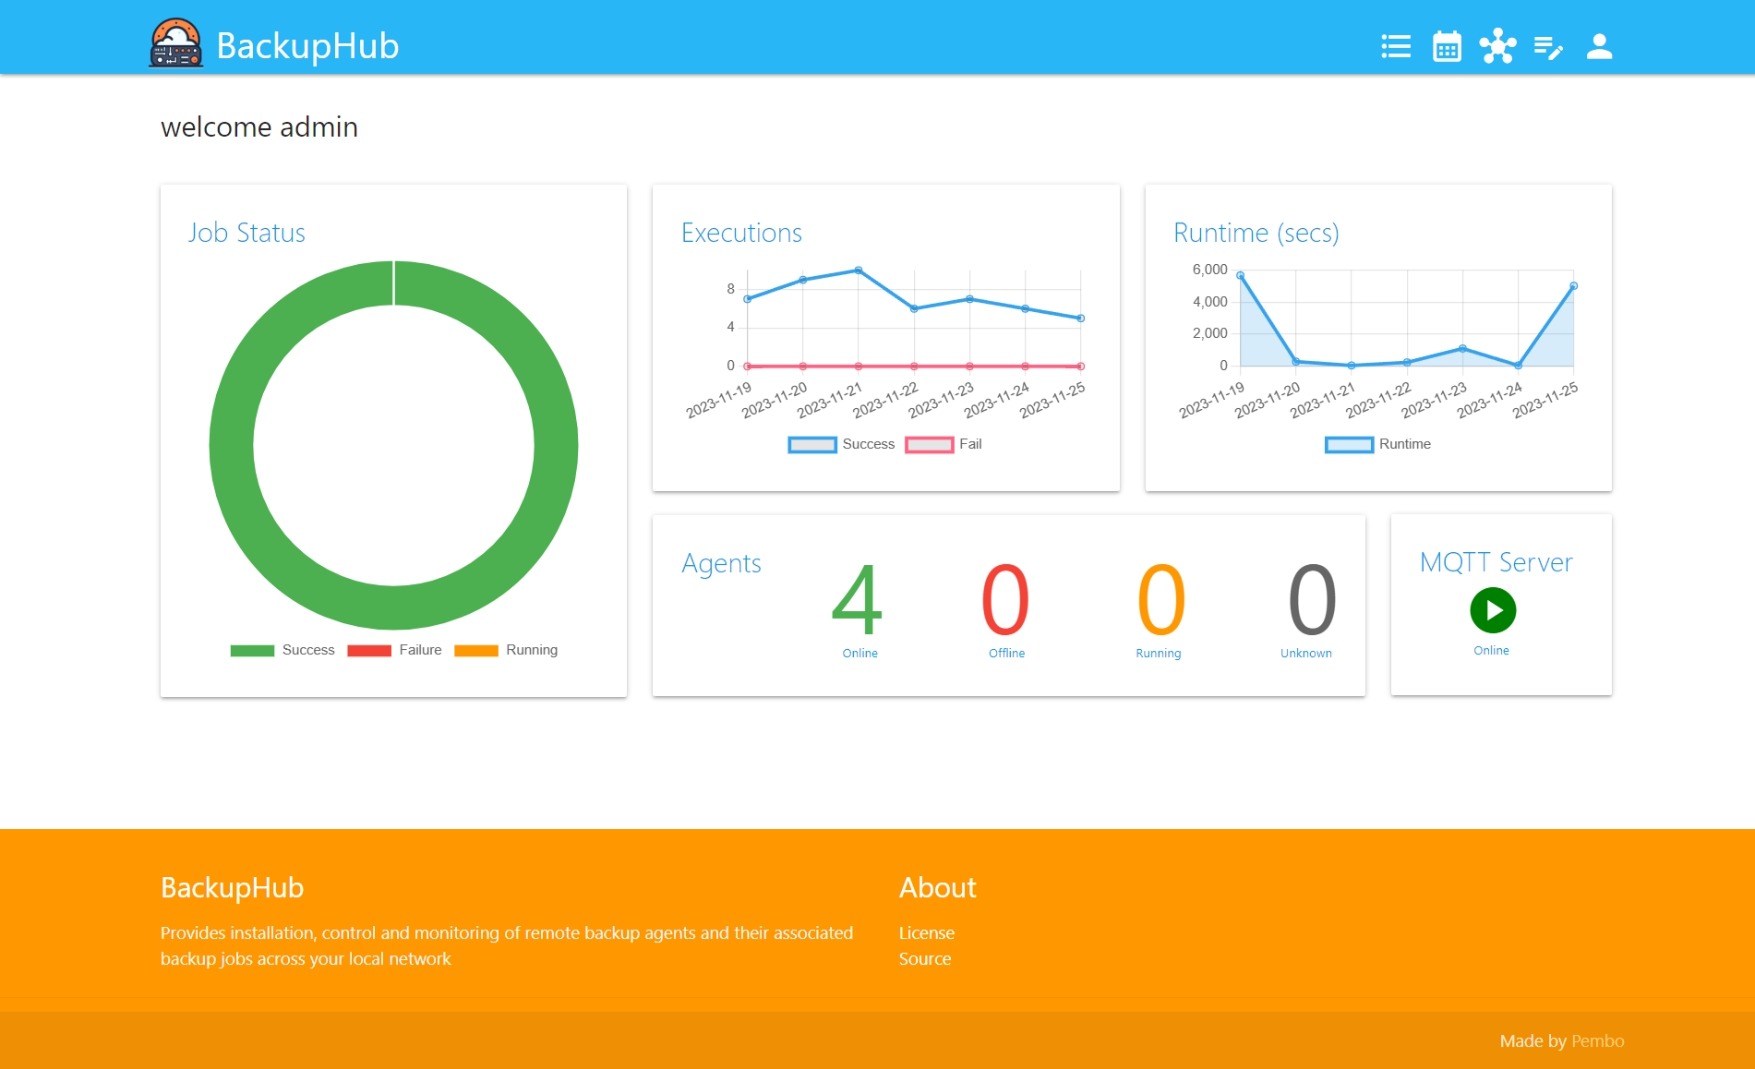
🧭 BackupHub Today: More Than Backups

BackupHub started as a personal backup manager. Today it’s a lightweight automation platform for home labs, NAS devices, and small server fleets.

It now handles:

  • Backups
  • Maintenance tasks
  • Monitoring‑driven triggers
  • Multi‑step workflows
  • Cross‑server orchestration
  • Real‑time automation pipelines

All with a clean UI, a simple agent, and a small footprint.


🔗 Try It, Star It, Break It, Improve It

BackupHub is open‑source and actively evolving.

GitHub: https://github.com/dpembo/BackupHub
Deepwiki: https://deepwiki.com/dpembo/BackupHub

If you’re running a home lab, a Proxmox cluster, or just a couple of Linux servers, give it a try — and let me know what you automate with it.

BackupHub Release (v2025.04.20.01)

Introducing the first public release of BackupHub, a free and open source personal backup management platform, particularly for linux, NAS and other home servers, but equally can be used in more complex environments.

BackupHub is something I created for personal use, but figured that it could be useful for many people, especially those with a home lab, and therefore I made this open source on github, productionized it, and this is the result of all that work!

See here for installation, source and license details.

BackupHub provides a web management console, and managed backup agent installations to achieve and manage remote execution of shell commands to remote linux environments.

It can run natively (via node.js) but it’s designed for the server to run primarily as a container, either through docker, or even inside kubernetes. Backup agents can be installed directly from the management console, which run on linux servers, and have a number of options for startup, including:

  • – Container
  • – pm2
  • – cron
  • – service
  • – manual

BackupHub includes the following capabilities:

  • Job Configuration / Scheduler: in list and calendar views, to be able to create, configure and understand backup schedules clearly, with custom colours and icons to uniquely identify schedules
  • Job history management: view previously executed jobs and logs from these jobs
  • Secure Remote Agent provision and management: Manage and provision backup agents onto your servers, manage, and understand their status.
  • Integrated Script Editor: allows you to create and edit backup jobs directly from the management console, as well as pick from a set of template backup jobs which includes the following
    • – Backup proxmox vm
    • – Backup MySQL/MariaDB database
    • – Delete files matching a filter
    • – Reboot Server
    • – Purge files older than configured period
    • – Rsync two directories
    • – Threshold jobs for CPU/Storage
  • Integrated notifications both in the server console, via email, and configurable to use a webhook for external notification however you choose
  • Support for Websocket (preferred) or MQTT for transport of secured server agent communication

For further information, including the quick start guide, source code links and license, please see here:
BackupHub

Coming Soon…

BackupHub – a simple (and Open Source) Backup Controller that runs under Docker, with deployable agents that run on remote servers capable of running various backup jobs on a configured schedule, pushed via the controller.

Intel NUC & VMware ESXi 6.0

So, recently I’ve decided to rationalise a lot of my computing equipment at home to reduce the footprint of what I use and the power consumption associated with all the equipment.

I’ve got a series of USB Hard Drives, Raspberry Pis (x2) and ACER Revo (Atom based) and a Core2Duo DELL machine all having their own use.  The raspberry pis, were a web/intranet server as well as an SSH access gateway, download device for large file downloads and a jenkins build server.  The revo was a windows 7, then 8, then 10 remote desktop client when being access remotely.  The core2duo machine is my development box where I build all the things I work on.  I reckon I have 5 x USB hard drives which I’ve also yet to detangle/clean up.

My Revo finally died, which prompted me to do something about all the equipment as I needed to replace it.

After lots of deliberation, I decided to go all out, on a reasonably low powered, but highly performant intel i7 NUC.

My shopping list was as follows:

  • Intel NUC5i7RYH Amazon Link
  • HyperX 16GB Low Voltage (1.35V) Ram (1600 MHz DDR3L CL9 SODIMM) Amazon Link
  • HyperX Predator 240GB M.2 SSD Amazon Link
  • I’d also got a 160GB SATA 2.5″ Drive going spare from the Revo

On arrival, it’s pretty painless to get into the barebones NUC to install the RAM/SSD, basically unscrew the four screws on the feet and pull off the panel.  Adding the RAM is easy.  The M.2 drive slightly more painful just as you have to screw it down and it’s a bit fiddly, but still painless.

And that was it – all ready to go.

OS of choice VMWare ESXi6 Open Source edition.
After downloading and registering/getting the key from vmware, it was put onto a USB drive to boot, which I used Rufus (https://rufus.akeo.ie/) to create.  Of course, this fails as VMWare is missing the Sata-xahci drivers/etc.

I followed the instructions here, replicated for posterity.

  1. Download and install vSphere PowerCLI 6.0 (Link) to use the Image Builder.
    This requires an account at vmware.com.
    If you are not entitled to download PowerCLI, register for an evaluation.
  2. Download required packages (Place both files in C:\esx)
    ESXi 6.0 Offline Bundle (VMware-ESXi-6.0.0-2494585-depot.zip) Link
    Sata-xahci Offline Bundle (Provided by v-front.de) Link
  3. Open VMware vSphere PowerCLI
  4. Enter the following commands:
    cd c:\esx\
    Add-EsxSoftwareDepot c:\esx\VMware-ESXi-6.0.0-2494585-depot.zip
    Add-EsxSoftwareDepot c:\esx\sata-xahci-1.28-1-offline_bundle.zip
    New-EsxImageProfile -CloneProfile "ESXi-6.0.0-2494585-standard" -name "ESXi-6.0.0-2494585-NUC" -Vendor "pembo.co.uk" -AcceptanceLevel "CommunitySupported"
    Add-EsxSoftwarePackage -ImageProfile "ESXi-6.0.0-2494585-NUC" -SoftwarePackage "sata-xahci"
    Export-ESXImageProfile -ImageProfile "ESXi-6.0.0-2494585-NUC" -ExportToISO -filepath ESXi-6.0.0-2494585-NUC.iso
    Export-ESXImageProfile -ImageProfile "ESXi-6.0.0-2494585-NUC" -ExportToBundle -filepath ESXi-6.0.0-2494585-NUC.zip
  5. Use the ISO/Zip created to install VMWare on the NUC, using rufus to create a bootable USB Drive.
  6. Install VMWare onto either the USB Drive you booted from, or in my case the 160GB SATA Drive
  7. At this point the M.2 drive does not show.  Of course, someone has had the issue before here, replicated again
  8. Adding the M.2 NVMe card.  No problem, we can fix that. First step is to determine the PCI ID:
    ~ # lspci -v | grep storage -A 1

    0000:00:1f.2 SATA controller Mass storage controller: Intel Corporation Wildcat Point-LP SATA Controller [AHCI Mode]
         Class 0106: <strong>8086:9c83</strong>
  9. The numbers we are looking for are where the example shows 8086:9c83. We have to add the value returned to the AHCI driver map (/etc/vmware/driver.map.d/ahci.map). Unfortunately we can’t edit this file while ESXi is running. The changes have to be made to the file that is loaded during ESXi startup (/bootbank/sata_ahc.v00). Convert the file with vmtar, extract it, change the driver map and rebuild it to /bootbank/. To do that…
  10. Enable SSH from the ESXi host screen
  11. SSH to the ESXi host
  12. Run the following commands:
    cd /tmp 
    mkdir ahci
    cd ahci
    vmtar -x /bootbank/sata_ahc.v00 -o sata_ahc.tar
    tar xvf sata_ahc.tar
    rm sata_ahc.tar
    echo "regtype=linux,bus=pci,id=8086:9c83 0000:0000,driver=ahci,class=storage" &gt;&gt; etc/vmware/driver.map.d/ahci.map
    tar cvf sata_ahc.tar etc usr
    vmtar -c sata_ahc.tar -o sata_ahc.vgz
    mv sata_ahc.vgz /bootbank/sata_ahc.v00

    Obviously substituting the 8086:9c83 with the value the previous command returned
  13. Reboot ESXi, and add the SSD storage

Next post in this series will be on my experiences/vms/usage/etc!

Thanks to virten.net and its contributors/authors for significant help in getting this going quickly!

E2Stream v6.3

E2Stream v6.3 is now available to download from here: E2stream (86683 downloads )

Change log:

v6.3 - 22/03/2015
* Added option in installer to download the app as a zip
&nbsp; for installation from other software

v6.2 - 22/03/2015
* Moved source to github and updated build processes to use github
  https://github.com/dpembo/e2stream
  https://github.com/dpembo/e2stream-installer
* Corrected positional issue of title text on the now/next
  detail infobar


Please note, the installation and setup requires you to enable a ‘develop’ account on your TV.
You also need Java v7 or v8 to run the installer.

Instructions to setup can be found here

For any bugs, please create a new issue here

If you do use E2Stream, please consider donating to support the continued development and hosting costs of this app! You can donate any amount you feel is applicable here: